


How do you extract an image from a video?
- Choose your video. Click Choose File, or drag a video into the upload area. Your file opens locally in your browser and never leaves your device.
- Pick the exact frame. Use the frame ribbon under the video to scrub, click, or drag the playhead to the moment you want. Press Space to play or pause, and use the left and right arrow keys to move one frame at a time.
- Choose quality and format. Use Quality to export at Max, High, Good, or Low size, then choose JPEG or PNG in the Format selector.
- Download the image. Press Download Image to save the current frame to your device.
What can you do with extracted video frames?
A single clean frame can become the starting point for thumbnails, posts, mockups, teaching material, and more.

- YouTube creators use extracted frames as base material for custom thumbnails, layering text and graphics over the strongest moment of the video.
- Social media managers grab key frames from Reels, TikToks, and Shorts to repurpose as static feed posts, story slides, or carousel content.
- Designers and marketers pull reference shots for moodboards, product mockups, or A/B testing different cover images before committing to a final upload.
- Educators and trainers capture diagram-heavy moments from tutorials or recorded lectures to drop into slide decks and PDFs.
- Meme makers can save the perfect freeze-frame without playback controls or screen-capture artifacts getting in the way.
PNG vs JPG: which format should you use?
PNG uses lossless compression, so every pixel from the source frame is preserved exactly. Use PNG when you'll edit the image further, when color fidelity matters, or when you need a sharp, clean export. PNG files are larger.
JPG uses lossy compression, so file sizes are much smaller, with a small quality tradeoff that's usually invisible at typical viewing sizes. Use JPG for direct sharing, social posts, fast uploads, or when storage matters more than perfect fidelity.
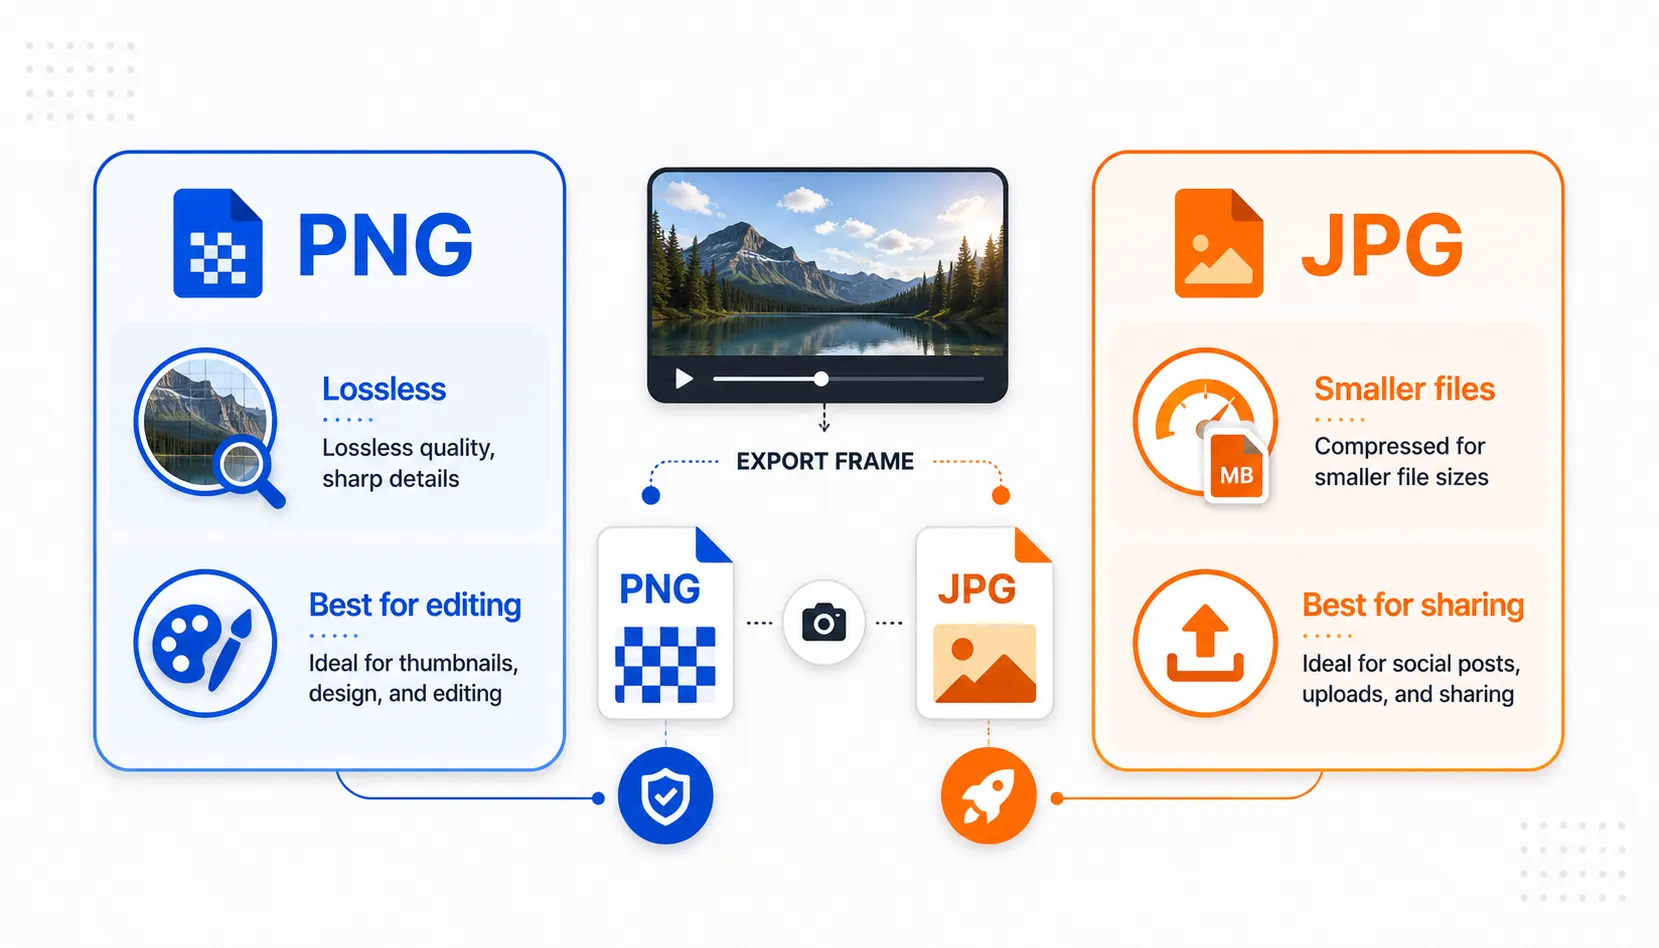
If you're not sure, pick PNG. You can always convert down to JPG later; you can't recover quality you've thrown away.
Can you extract frames at full video resolution?
Most online frame extractors silently downscale your output, so a 4K source video ends up as a 1080p or 720p image. This tool keeps the original resolution intact. If your video is 1920×1080, your extracted frame is 1920×1080. If it's 3840×2160 (4K), you get a 4K image. No quality loss, no upscaling guesses, just the actual pixels from the actual frame.
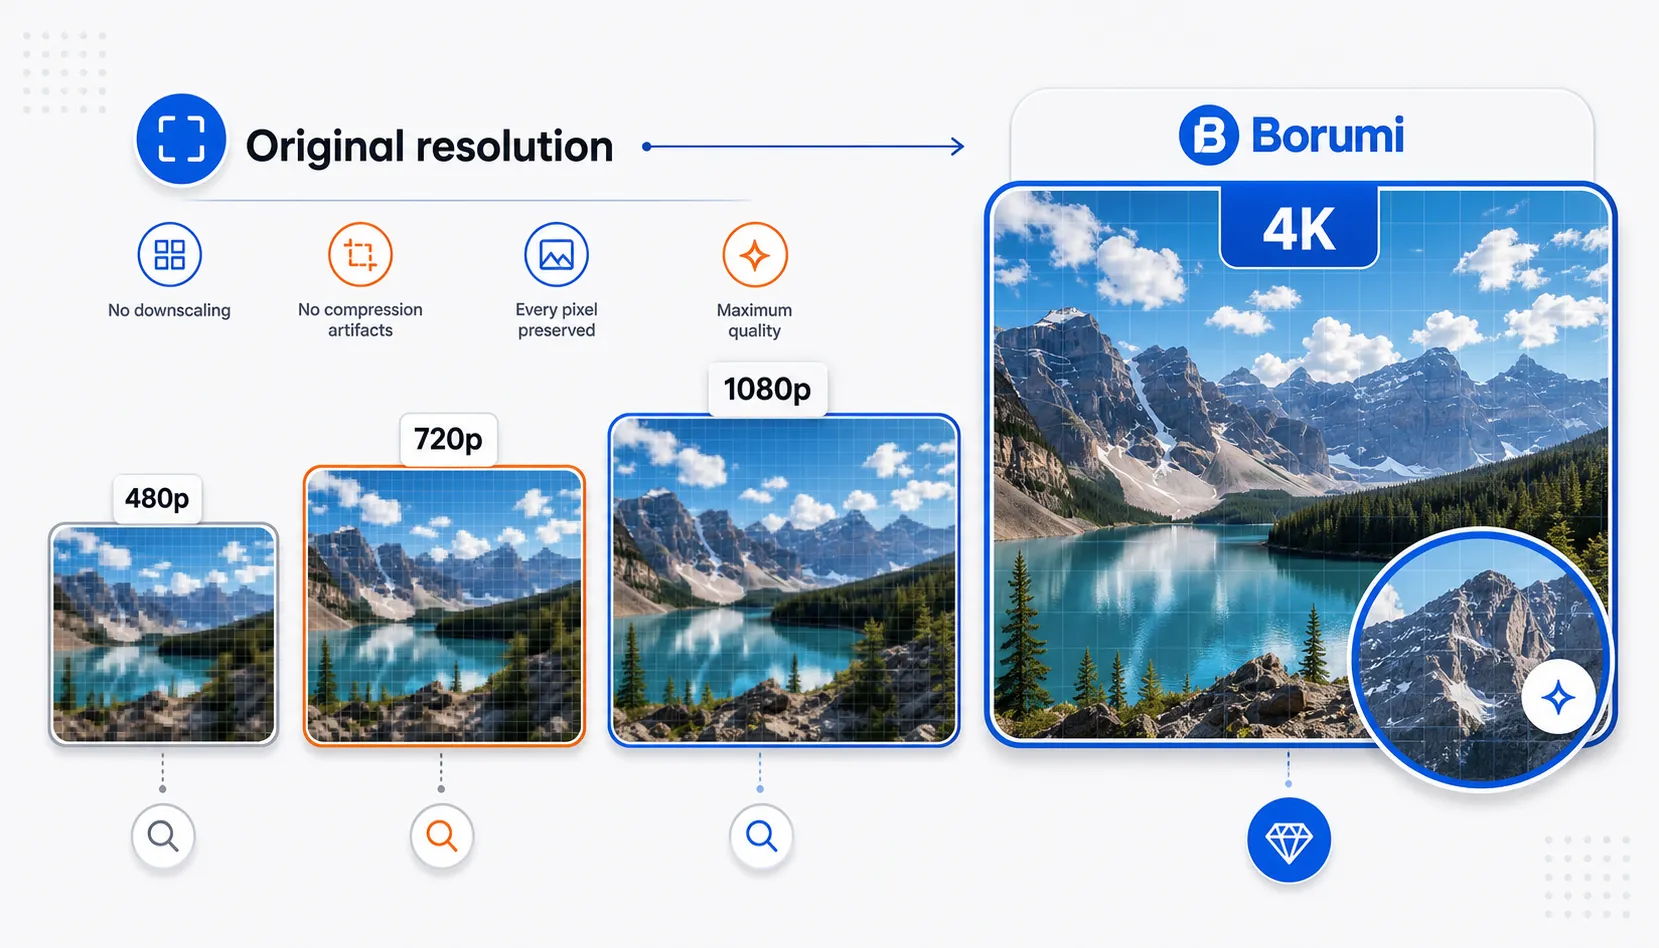
This matters most when you'll display the image at large sizes. YouTube thumbnails render at 1280×720 minimum and benefit from being sourced from higher-resolution material. It also matters when you need to crop into a specific region of the frame without it turning soft.
Which video formats are supported?
This tool reads any video format your browser can play natively. In practice, that covers:
- MP4 (H.264, H.265/HEVC): the most common format from phones, cameras, and screen recorders.
- MOV: Apple's QuickTime format, standard on iPhone and Mac.
- WebM (VP8, VP9, AV1): common for web-native video and YouTube downloads.
- MKV: common container for high-quality video, including AV1 and HEVC streams.
- AVI: older format, still widely used in archives and legacy workflows.
If your browser can play the video, this tool can extract frames from it. If you get an unsupported-format error, try opening the video in your browser first to confirm playback.
Need to know your video's specs before extracting?
Check the resolution and frame rate of any video file with our other free, privacy-first tools.