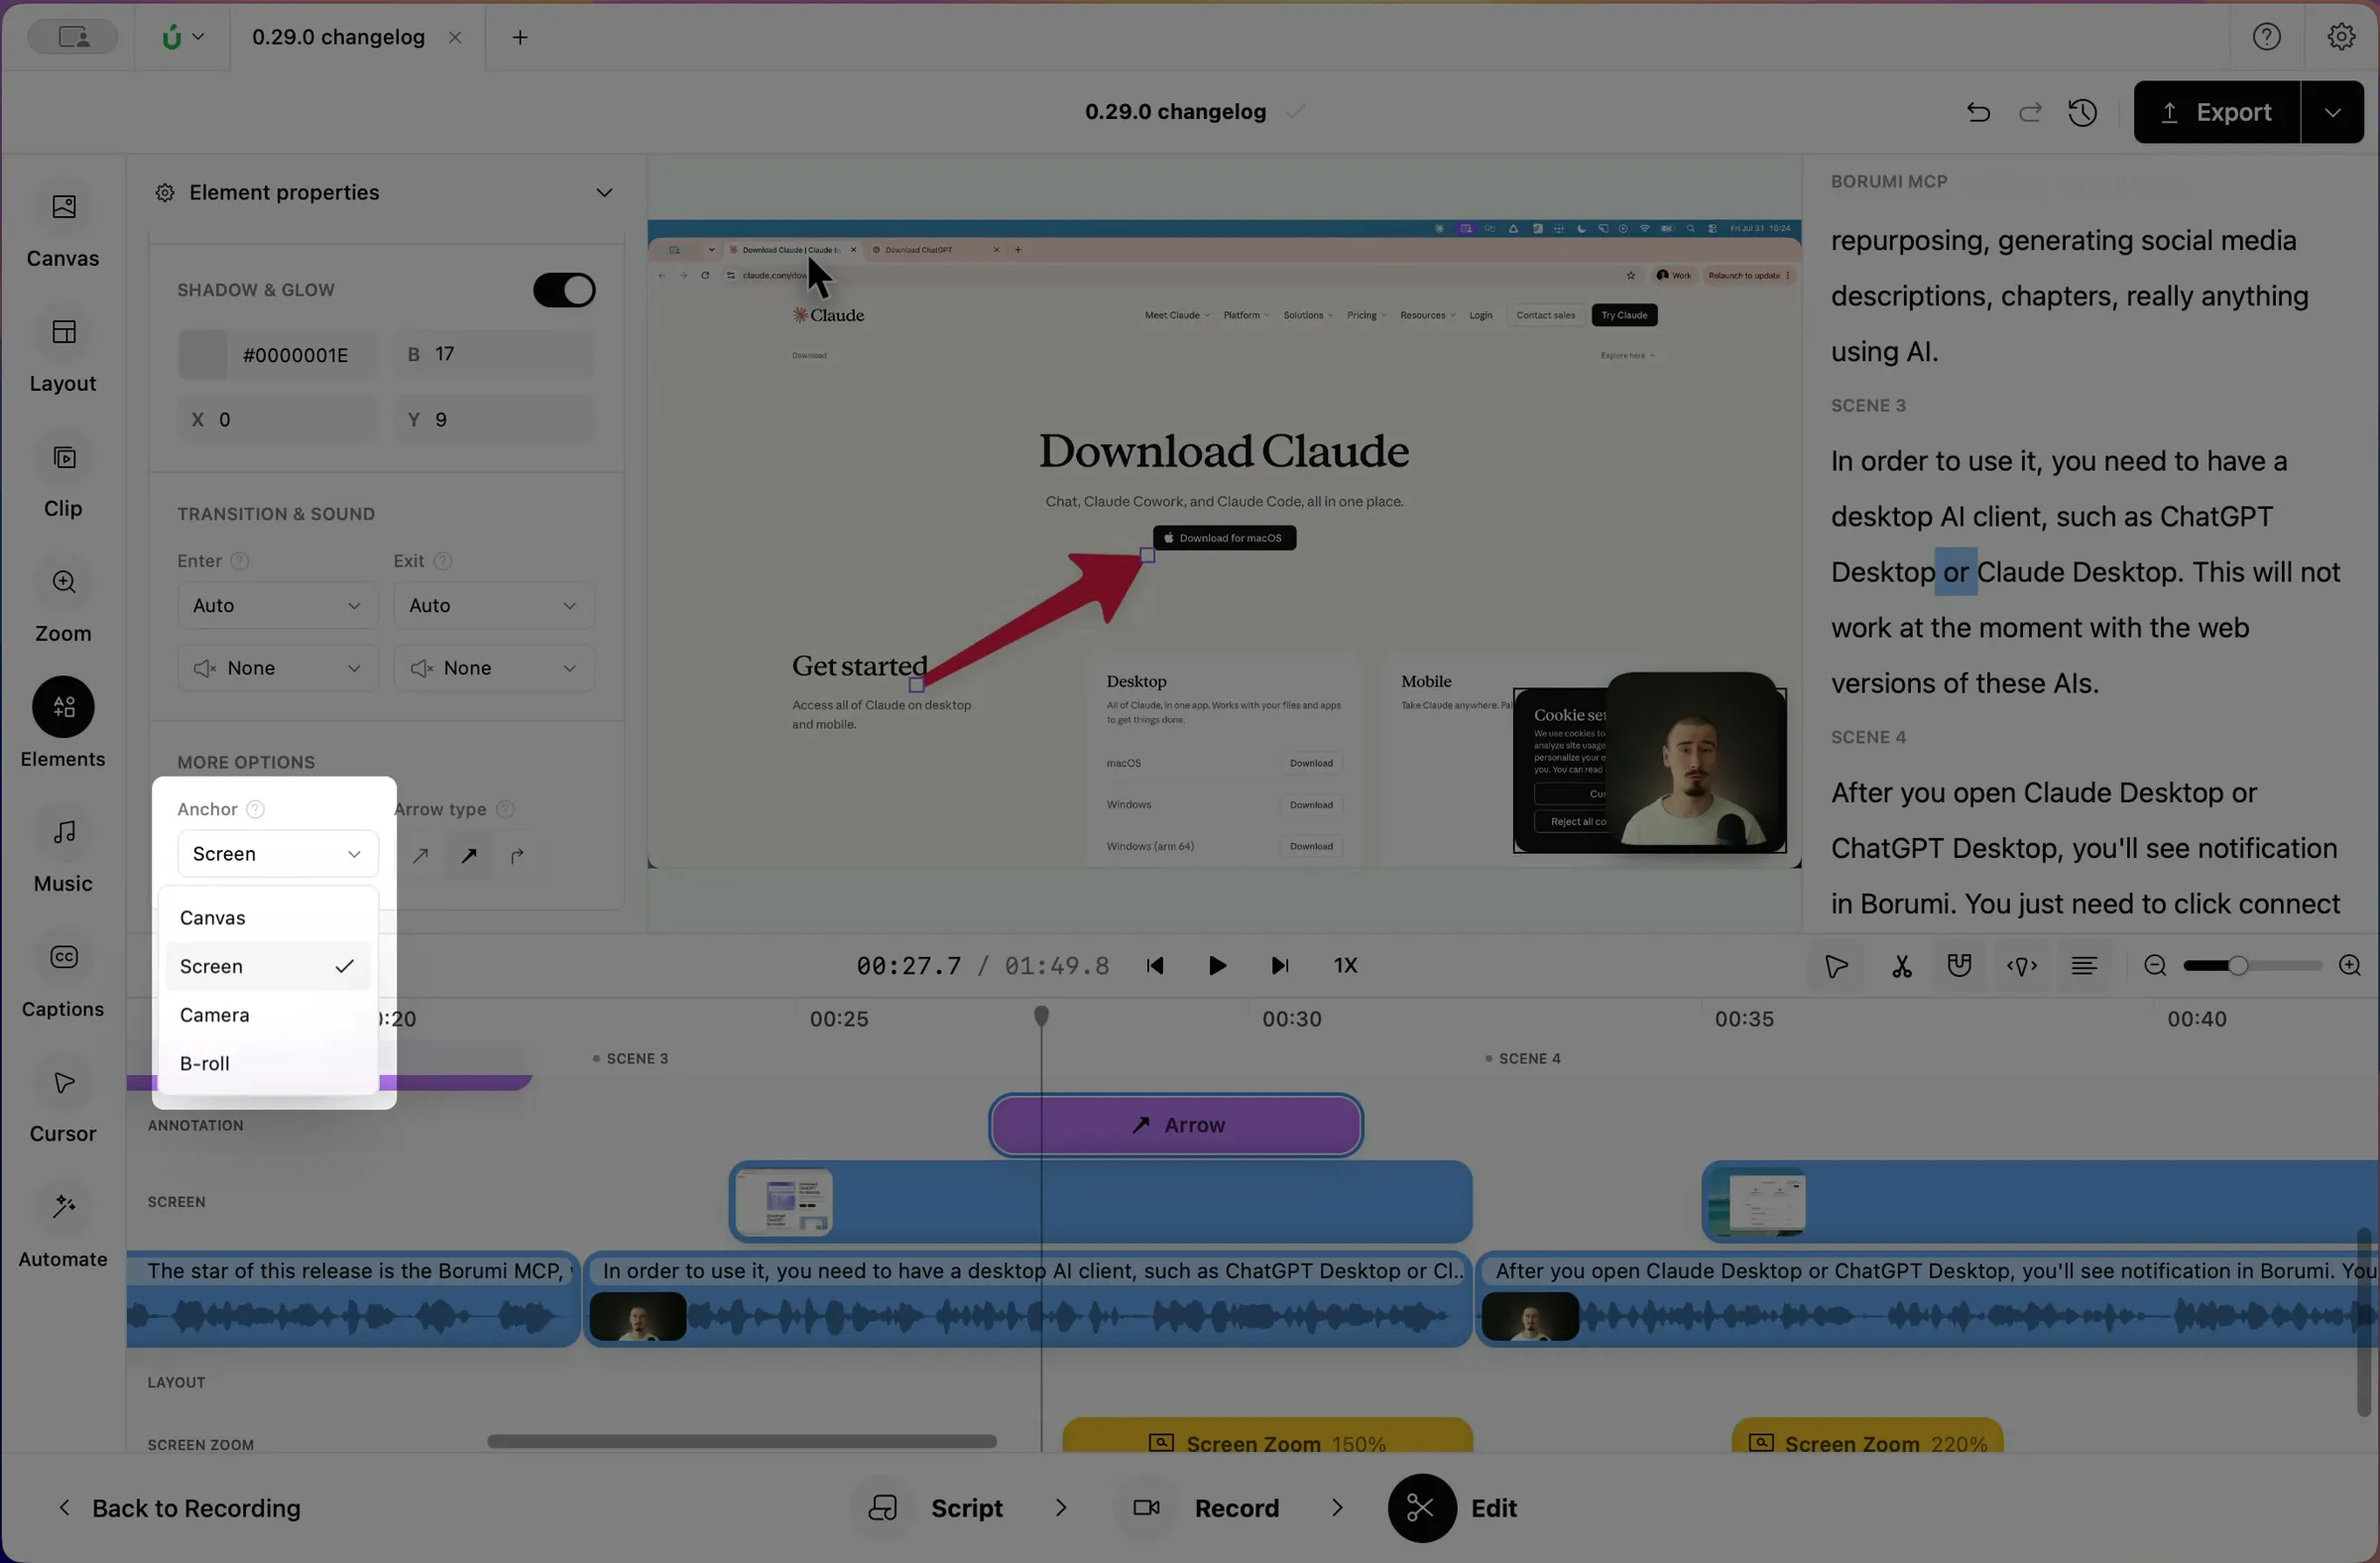
Add annotations
When you make a tutorial, you might want to add an arrow or a rectangle to draw attention to a particular area of your video. Borumi makes it easy, and this guide shows you how.

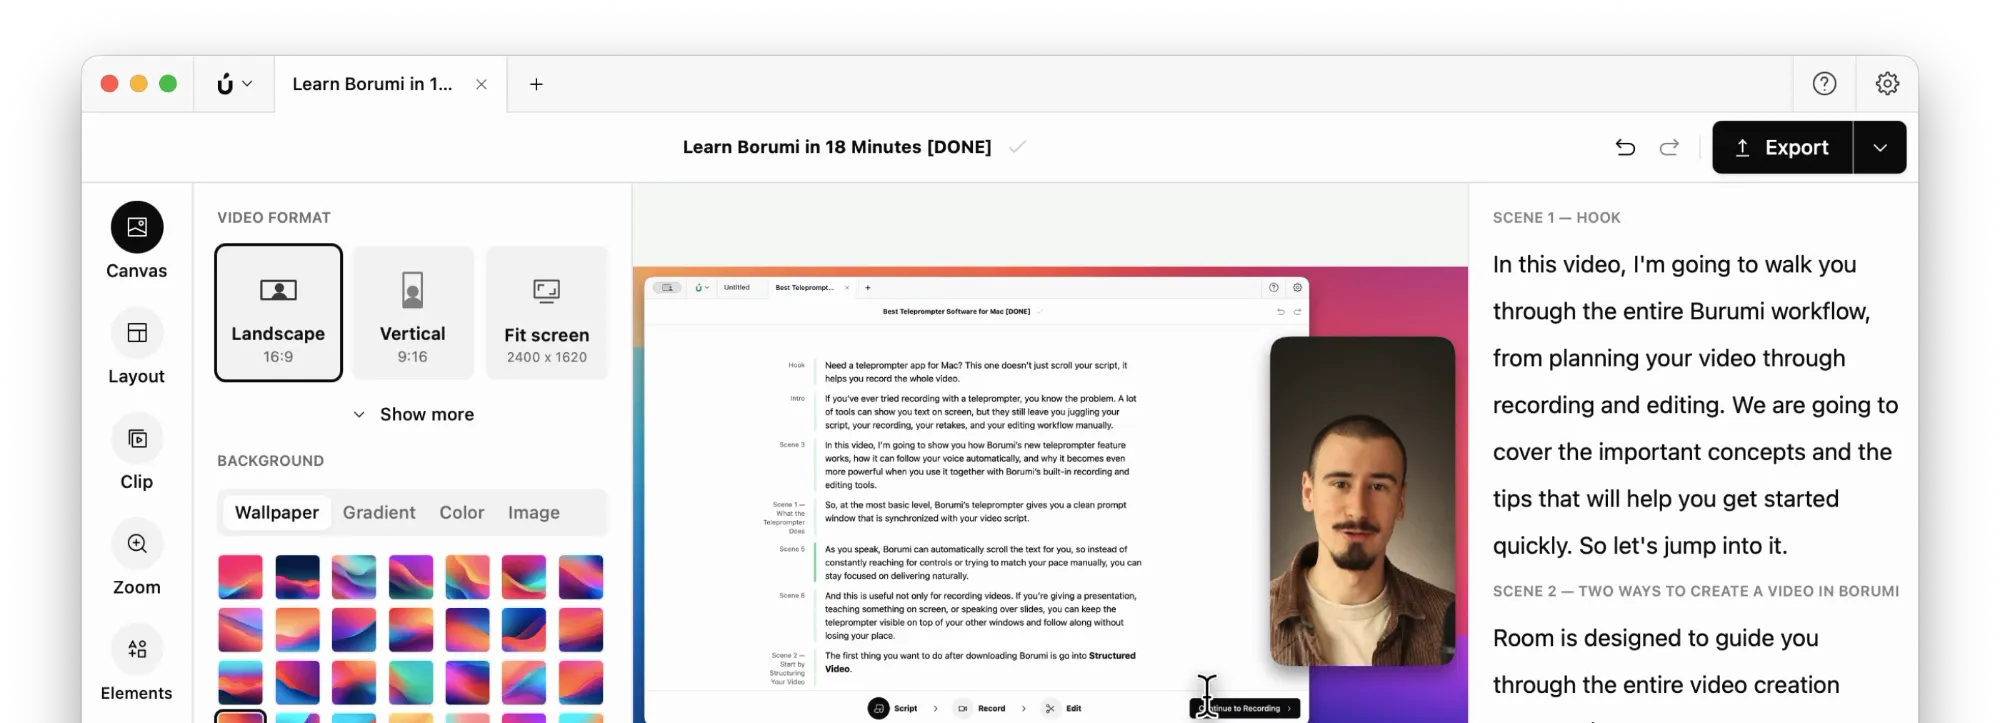
This video can't be played right now. Please try again later.
You can add annotations in two ways, depending on what you want to point at:
- From the screen toolbar, to point at something on your screen recording. The annotation follows the screen recording, so it keeps pointing at the same spot when the screen zooms or moves.
- From the Elements panel, to point at something outside your screen recording, like your camera.
Add an annotation (screen toolbar)
Section titled “Add an annotation (screen toolbar)”-
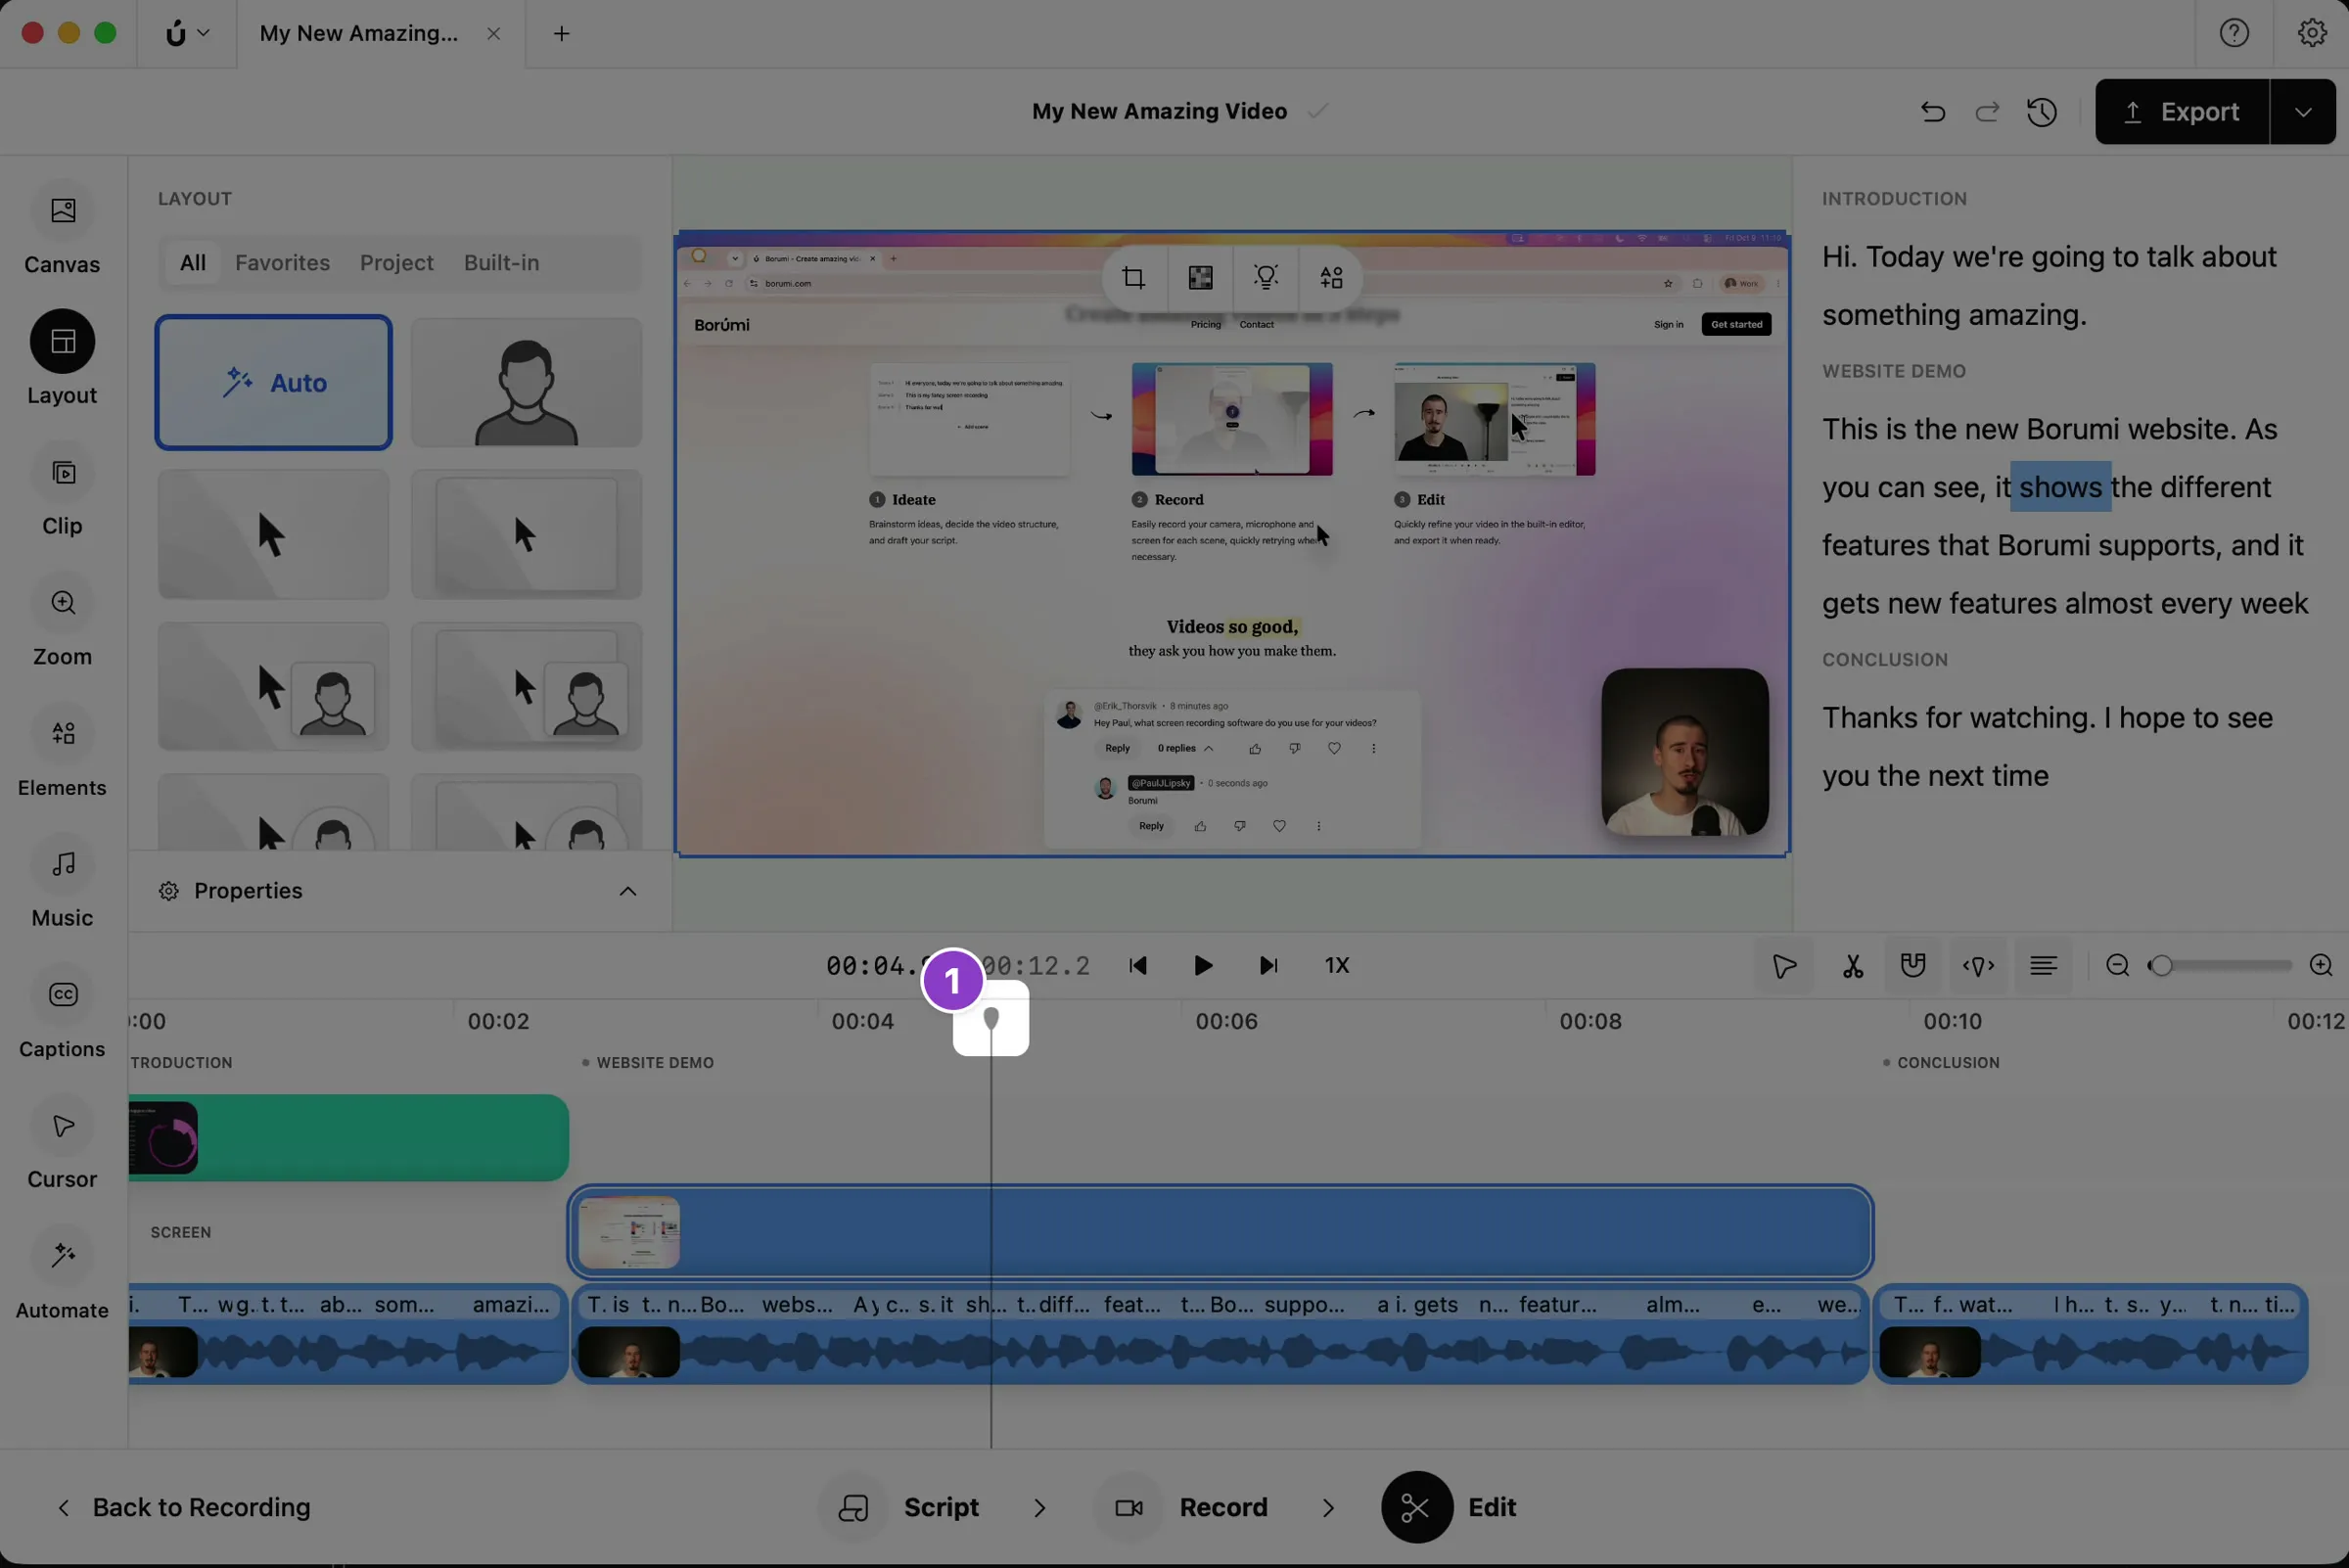
Move the playhead to where the annotation should appear.
-
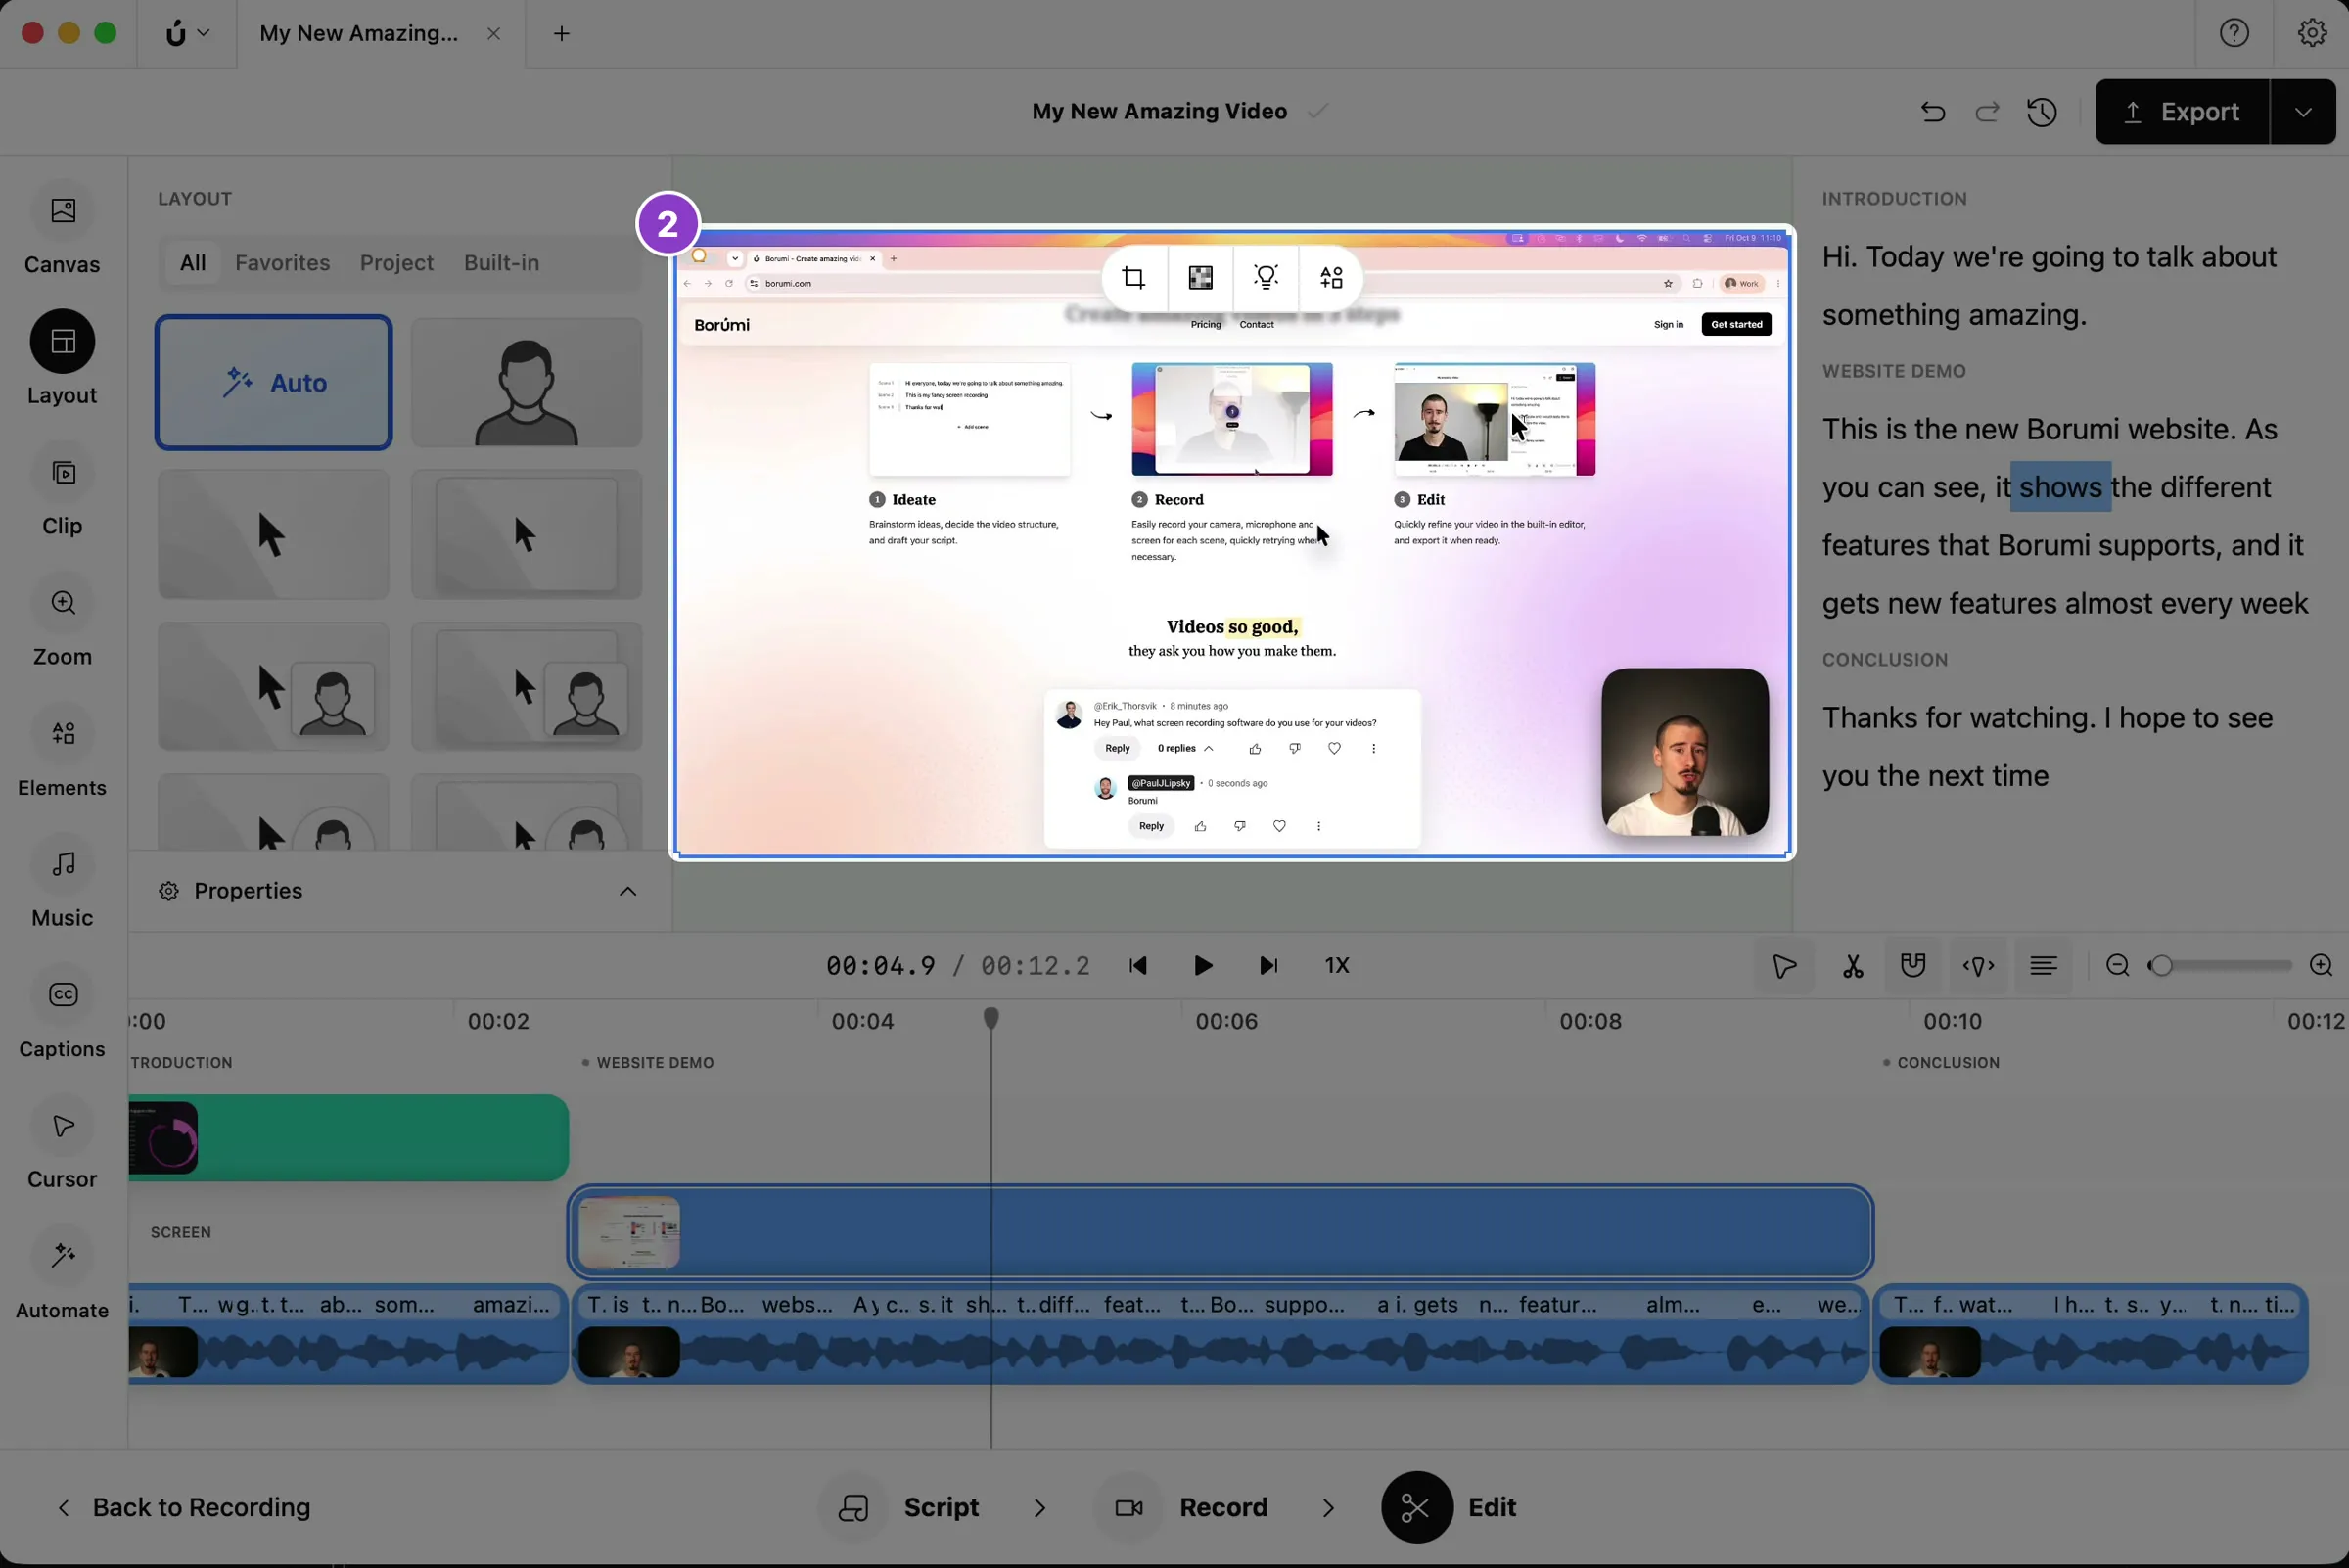
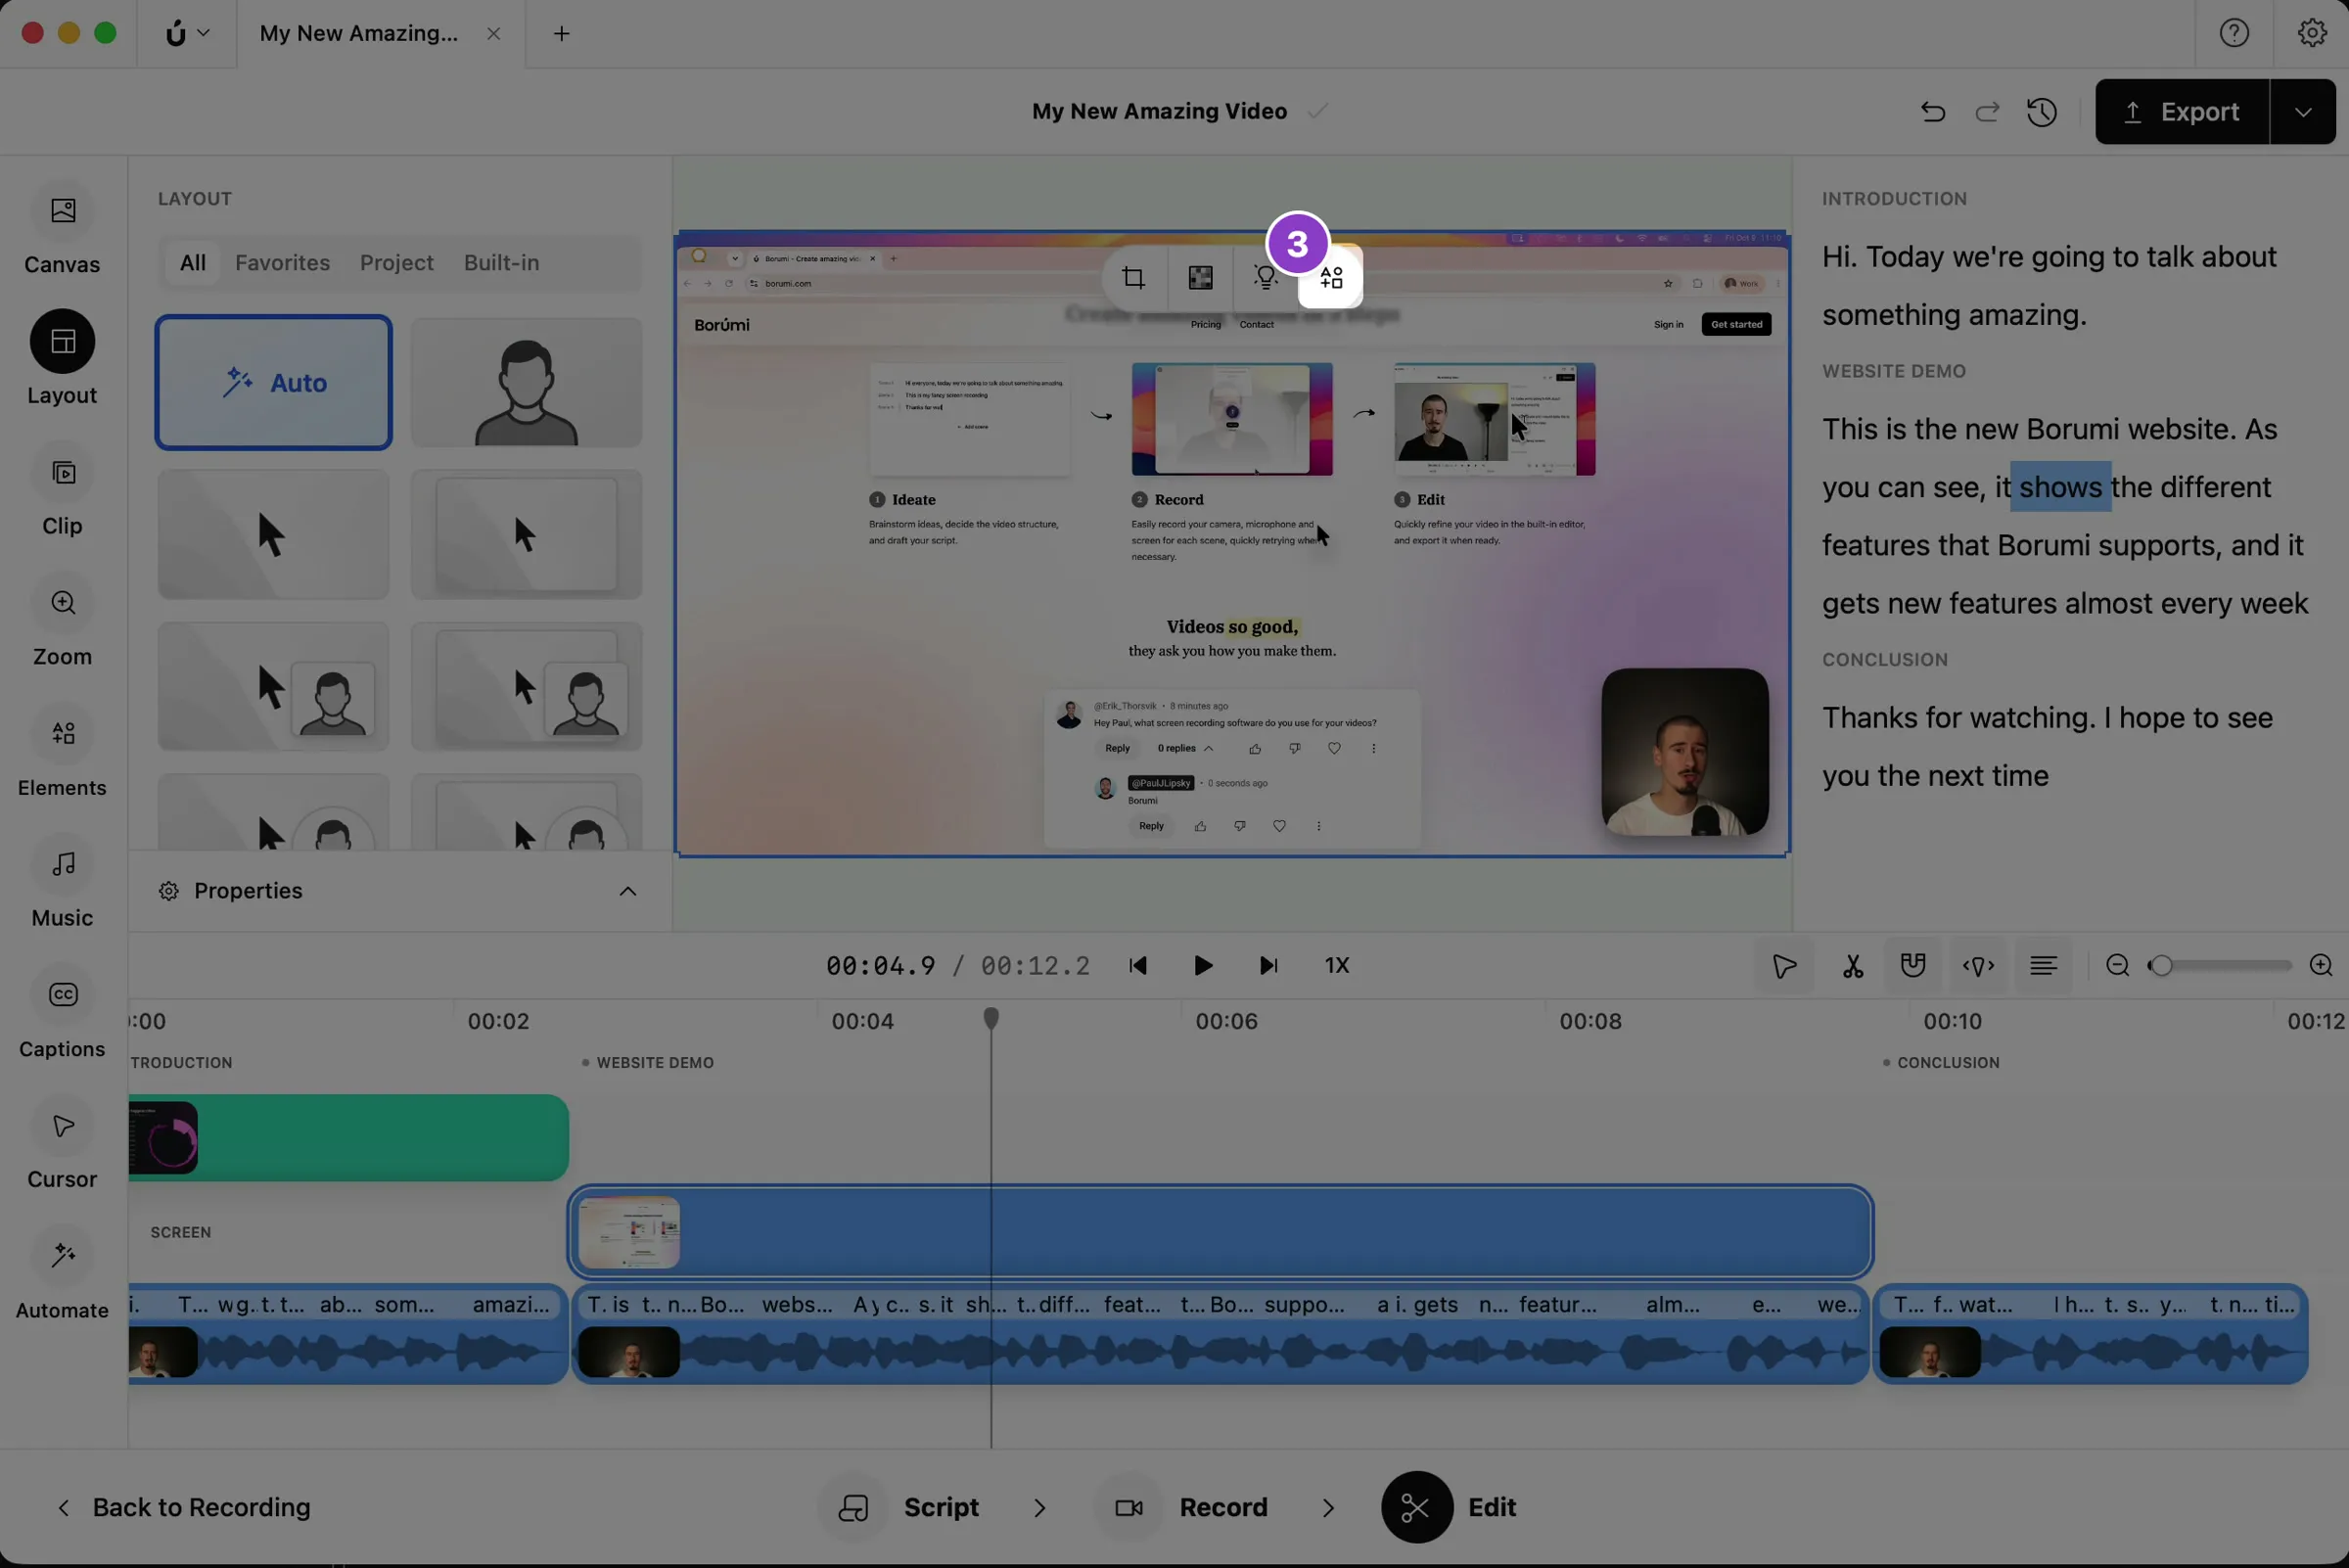
In the preview, click your screen recording. A small toolbar appears above it.
-
Click the Elements icon on the toolbar.
-
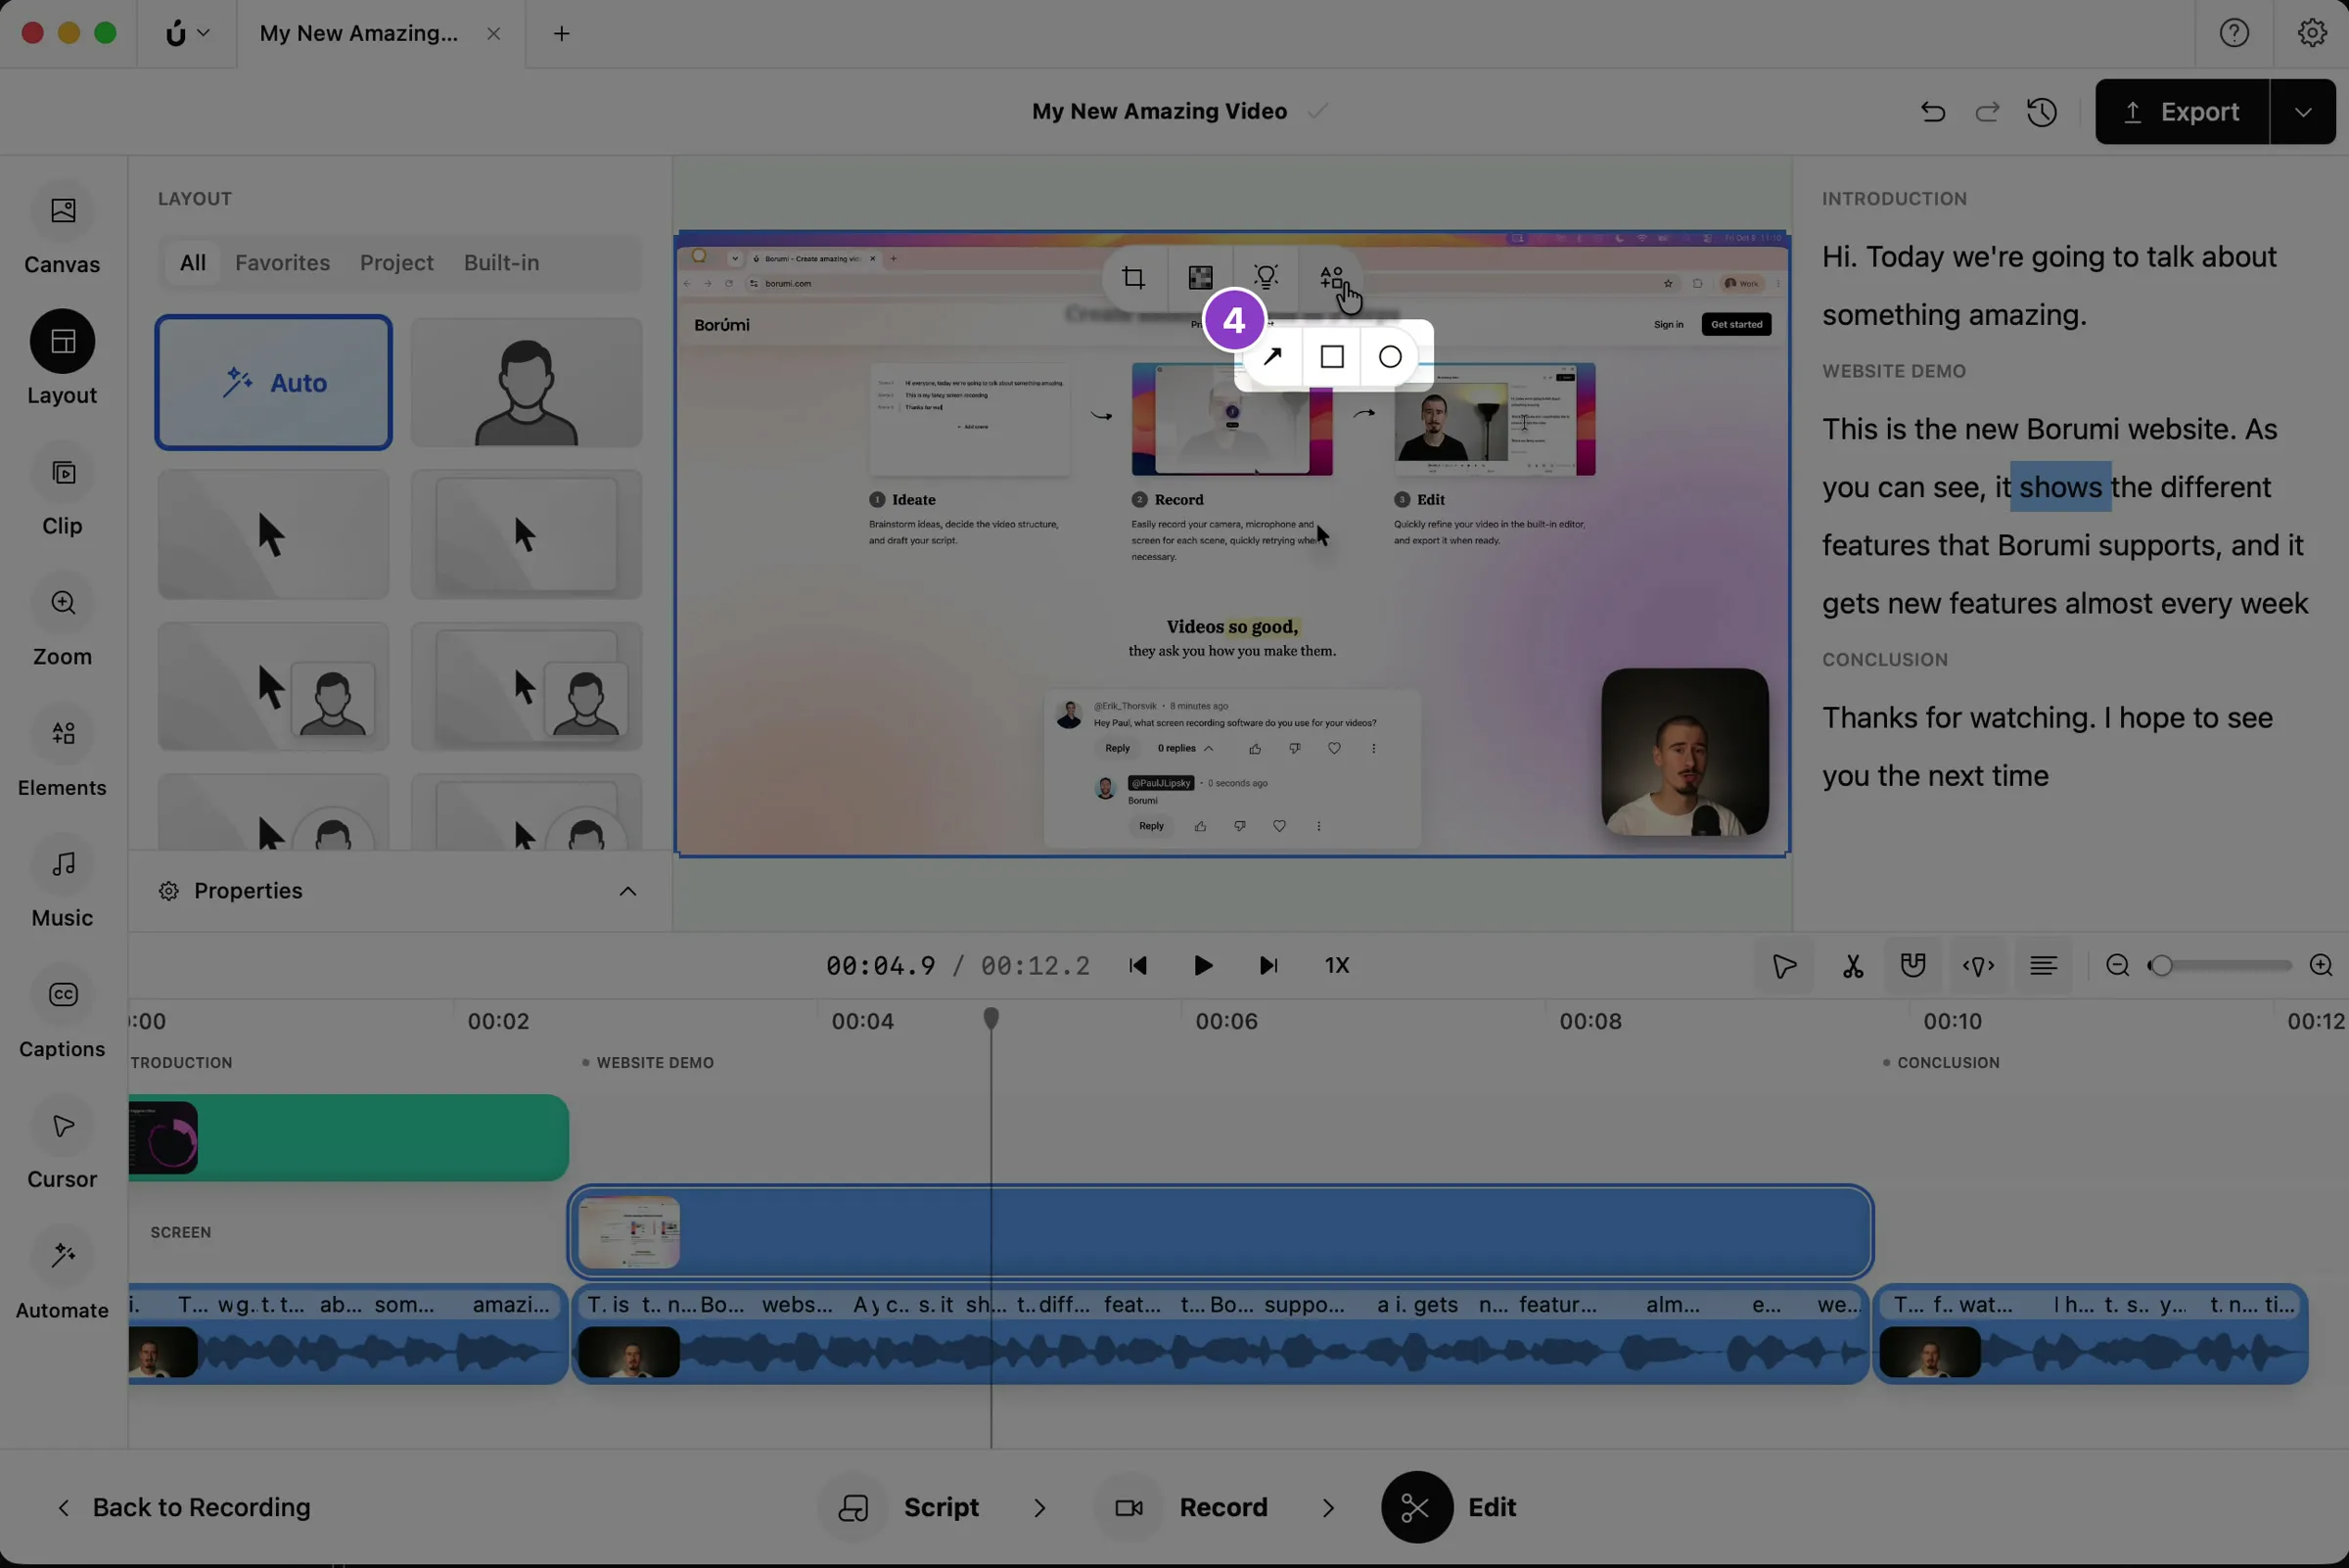
Choose Arrow , Rectangle , or Ellipse .
Add an annotation (Elements panel)
Section titled “Add an annotation (Elements panel)”-
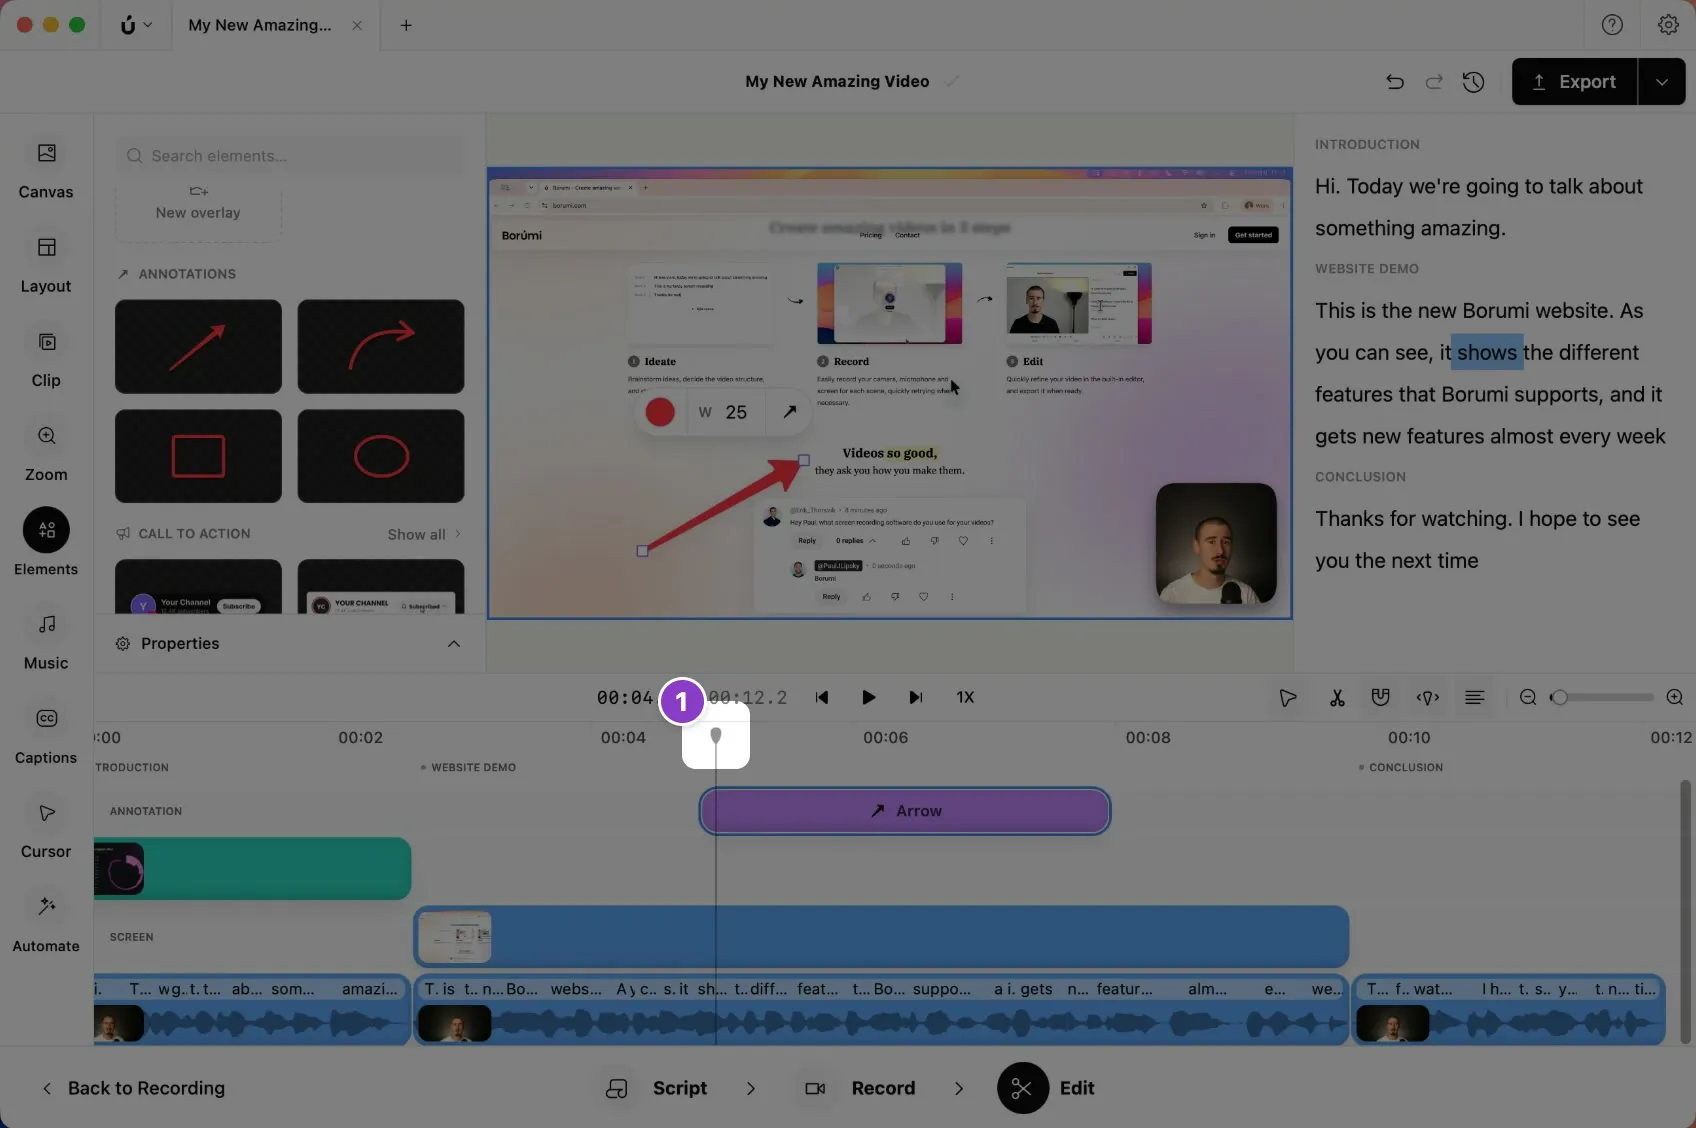
Move the playhead to where the annotation should appear.
-
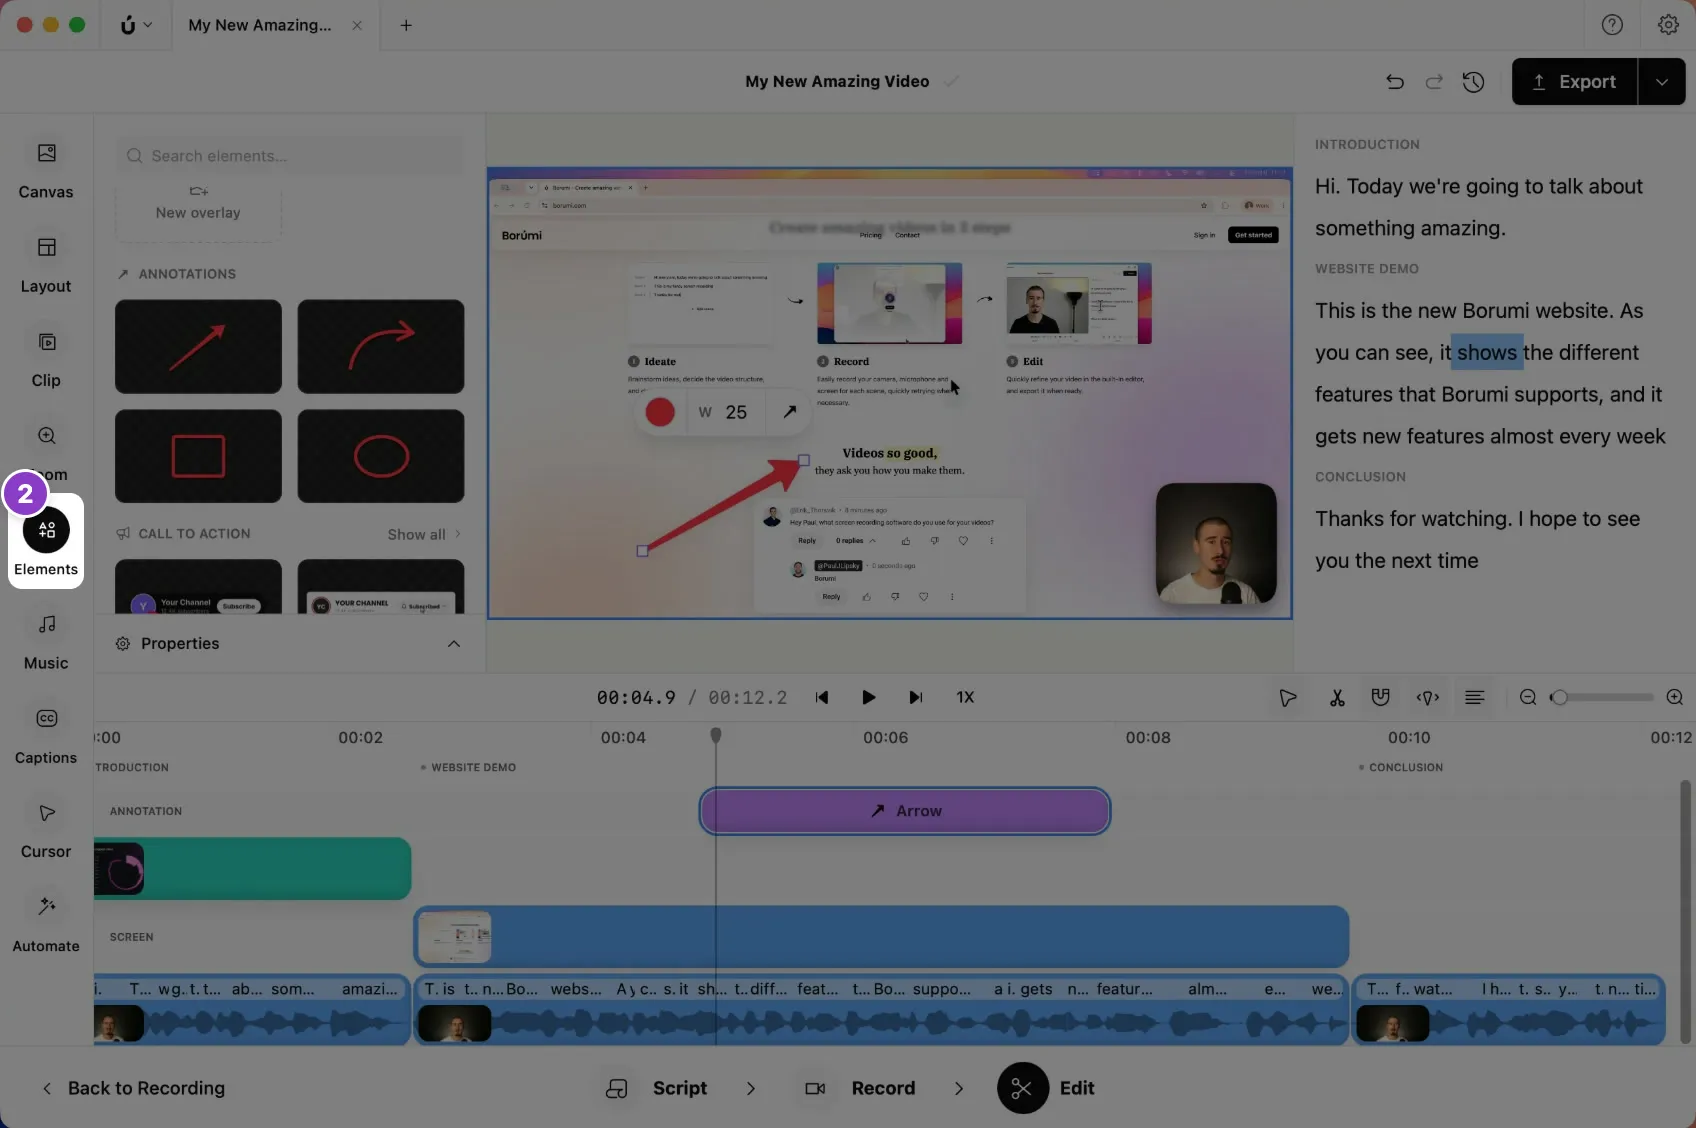
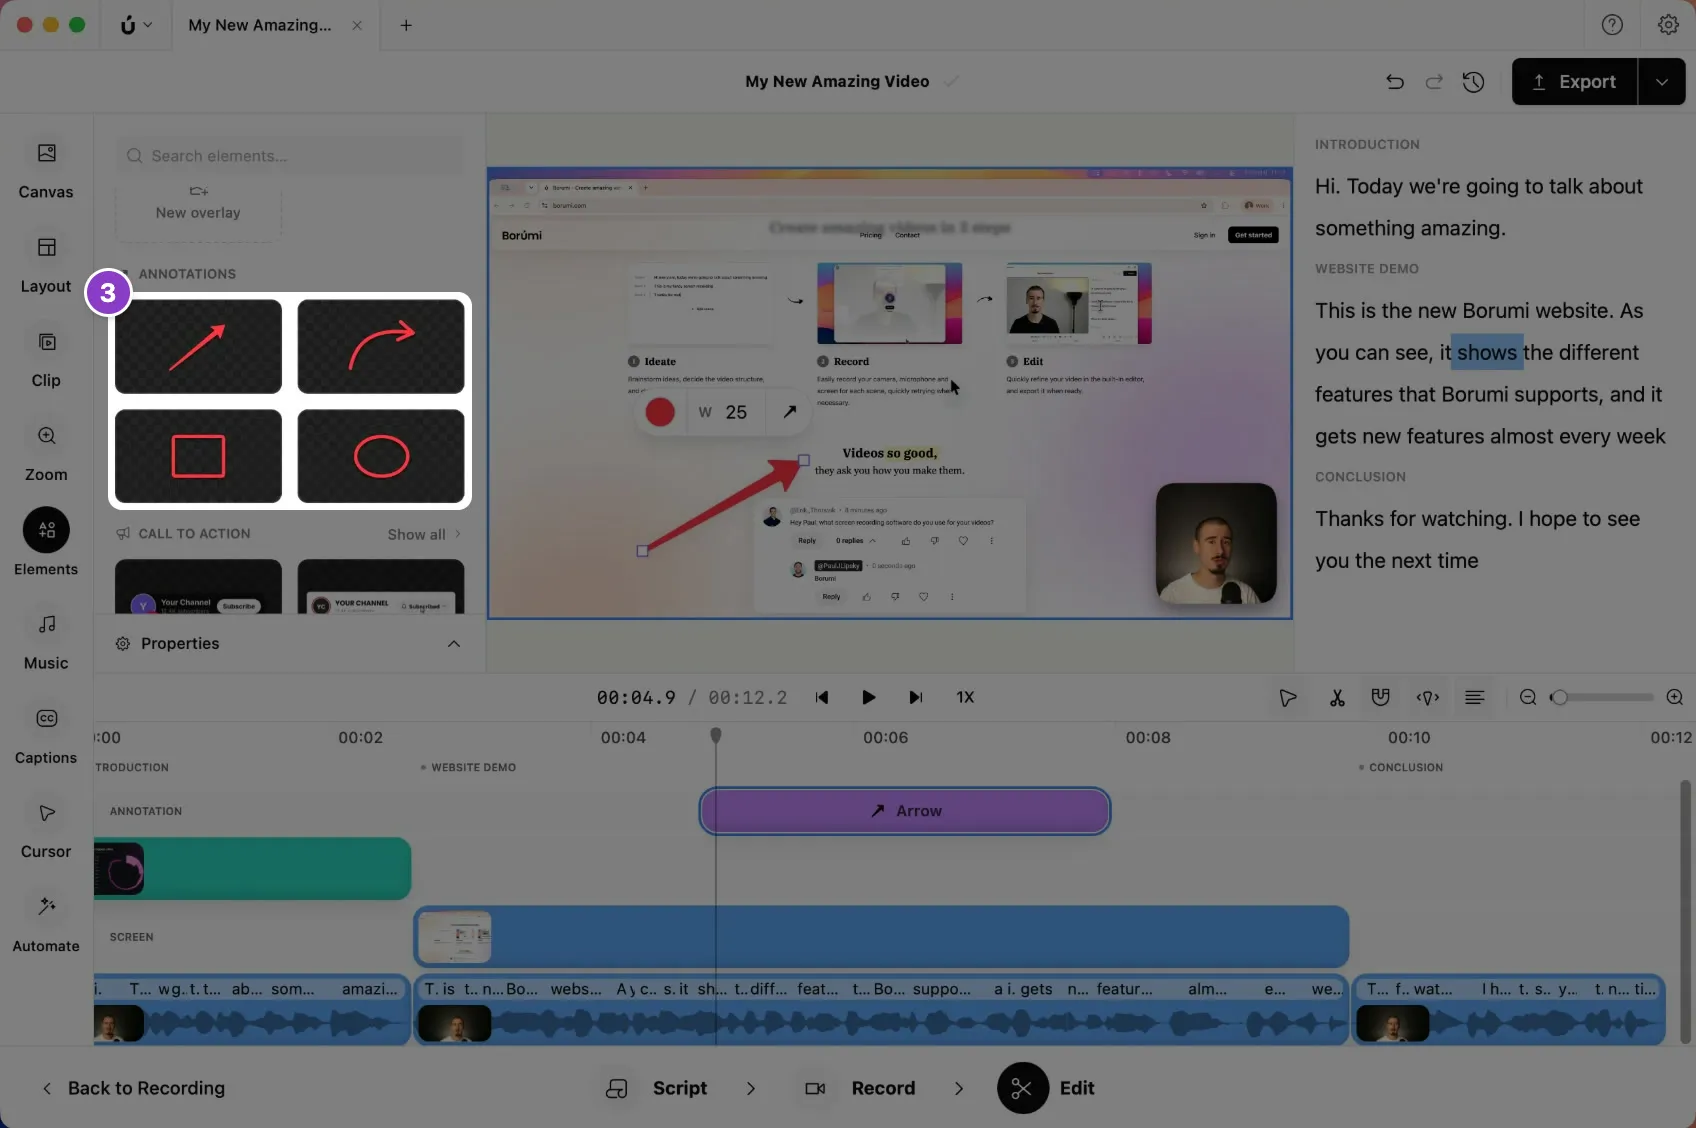
Click Elements in the left sidebar.
-
Under Annotations, click Arrow, Curved arrow, Rectangle, or Ellipse.
Change how it looks
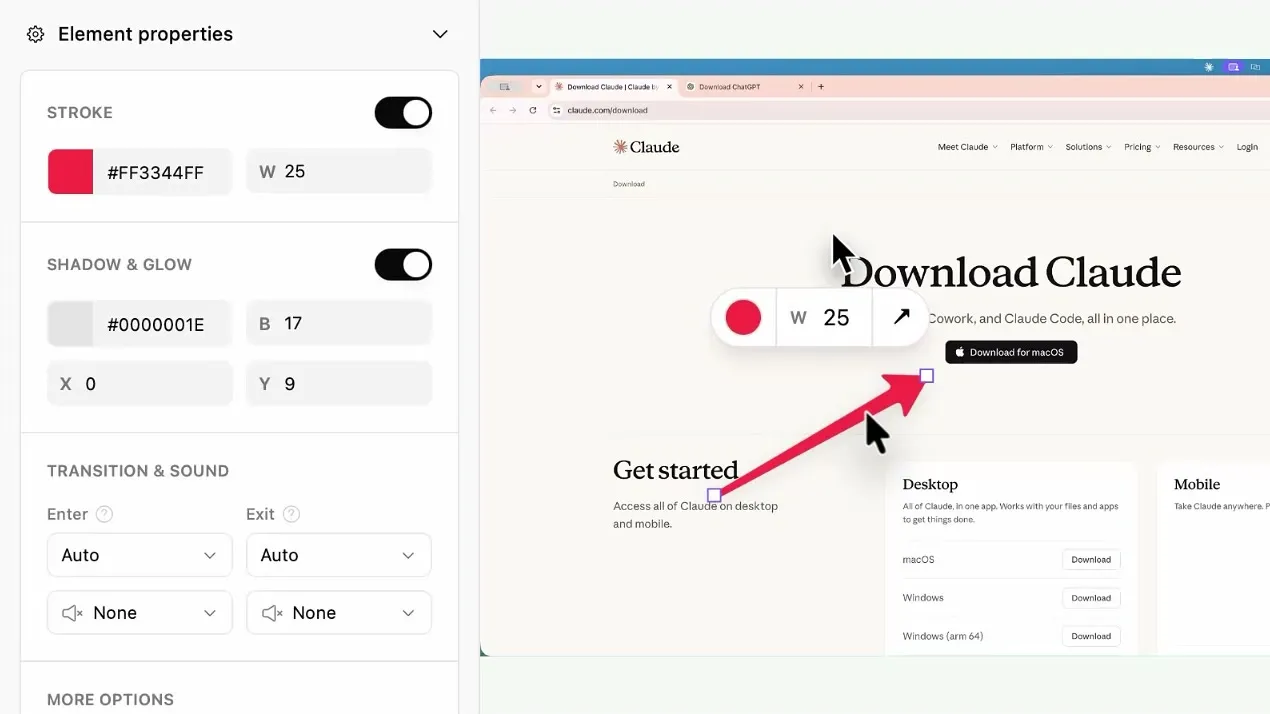
Section titled “Change how it looks”Select the annotation, then use the panel on the left to customize it:
- Size & Position: where it is, how big it is, and its rotation (rectangles and ellipses only).
- Stroke: the color and width of the line.
- Fill: a fill color for rectangles and ellipses.
- Shadow & Glow: a soft shadow that makes it stand out from the background.
Customize the transitions
Section titled “Customize the transitions”You can also customize how annotations appear and disappear, to give them a different feel. In the panel on the left, under Transition & sound, choose an Enter and an Exit transition:
Below each transition, you can pick a sound that plays when the annotation appears or disappears.
Annotation anchoring
Section titled “Annotation anchoring”By default, an annotation added from the Elements panel stays fixed in the video. If your screen recording zooms or moves, the arrow can end up pointing at the wrong thing:
To fix that, change what the annotation follows:
- Select the annotation.
- In the panel on the left, under More options, open Anchor and choose what the annotation should follow:
- Canvas: stays in the same place in the video, while the content moves underneath it.
- Screen: follows your screen recording as it moves or zooms, so it keeps pointing at the same area.
- Camera: follows your camera.
- B-roll: follows a video you added on top.